So - we all know it is Valentines day coming up and coincidently, I am teaching a crochet class this week. In that lovely harmonious way, I can marry up my class with my love of all things cute and help my beginners to make some pretty little crocheted love hearts.
I have created a tutorial for them, with some photos included which I will post up here for all to see. The main focus of this is to teach the magic circle (the way I do it, anyway) - but it is also a great way to practise some basic stitches and create something really cute.
The class is actually a freebee for a group of friends and is a great way for me to get back into teaching crochet as I haven't done any for a good six months (events conspired and all that...). There will be six ladies attending and I expect that more cups of tea will be drunk than love hearts made!
Take a look at the tutorial and pattern here:


Wrap again, this time taking the wool to the left of your original wrap.


 6dc around the edge until bottom
I have created a tutorial for them, with some photos included which I will post up here for all to see. The main focus of this is to teach the magic circle (the way I do it, anyway) - but it is also a great way to practise some basic stitches and create something really cute.
The class is actually a freebee for a group of friends and is a great way for me to get back into teaching crochet as I haven't done any for a good six months (events conspired and all that...). There will be six ladies attending and I expect that more cups of tea will be drunk than love hearts made!
Take a look at the tutorial and pattern here:
Tiny Valentines
Hearts (using a magic circle)
Make a magic circle: Wrap the wool around your three fingers from
front to back.
Wrap again, this time taking the wool to the left of your original wrap.
Now take the left hand strand under the right hand strand with your
hook – hold this in place.
Now take your wool (the end attached to the ball) and make a ss to
hold the wool on your hook in place.
Pull the short end of your wool and see how the circle closes. But
leave the circle open for now.
The rest of your stitches will be worked around the magic circle over
the two strands. The left hand side of the circle.
Now
for the love heart!
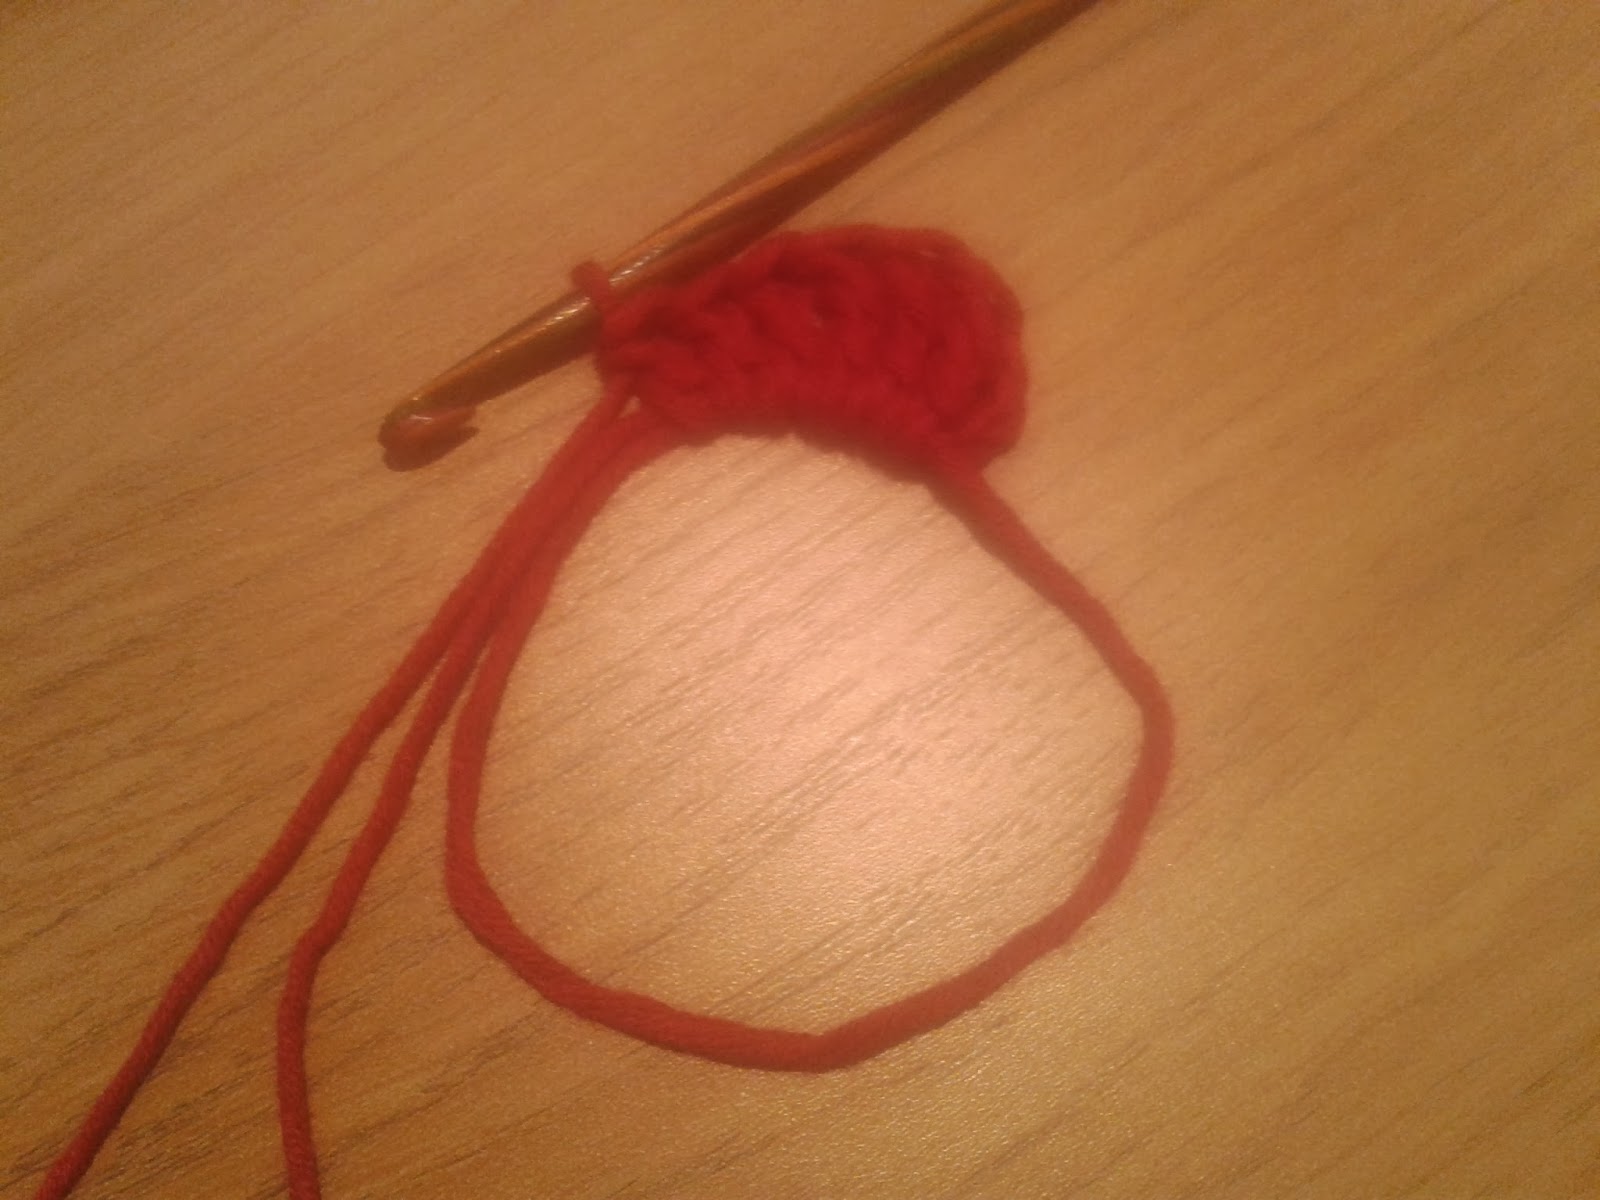
Work all of the following stitches into your magic circle (apologies for the slightly blurry photos - I was losing light)
3ch
3dtr
3tr
2ch This is the bottom of your heart
3tr
3dtr
3ch
Pull the magic circle tight by pulling on the short end and ss
into the centre using the ball end. Cut yarn and feed it back through the loop to secure. Now knot the yarn with the other tail on the back of the work.
Pull a different colour yarn though the centre and secure with a dc.
Now complete 4dc into first ch 3 space
6dc around the edge until bottom
1dc, 1tr, 1sc into ch 2 space at bottom of heart
6dc around
4dc into ch 3 space,
ss into the centre as before.
cut yarn and tie off to the rear. Weave in ends
Make several in different colours and then a length of chain to hang
them on. Use as bunting, on the Christmas tree or wrap around the
bedhead for a romantic look! Or just sew onto your hat or glue on to
a valentines card.
Hey! Thank you for your sweet comment on my blog, and I am most loving your template....and thought it was really nice of you to change your template of your blog because I had it too! Although I sometimes don't mind sharing the same look he he!
ReplyDeleteI will be adding you to my bloggy reading list too! Thank you for visiting!
No problem - thank you for heading over this way too. it is so hard to get a blog off the ground, so any help is always appreciated! Don't worry - I am loving this look almost as much as the old one!
ReplyDelete